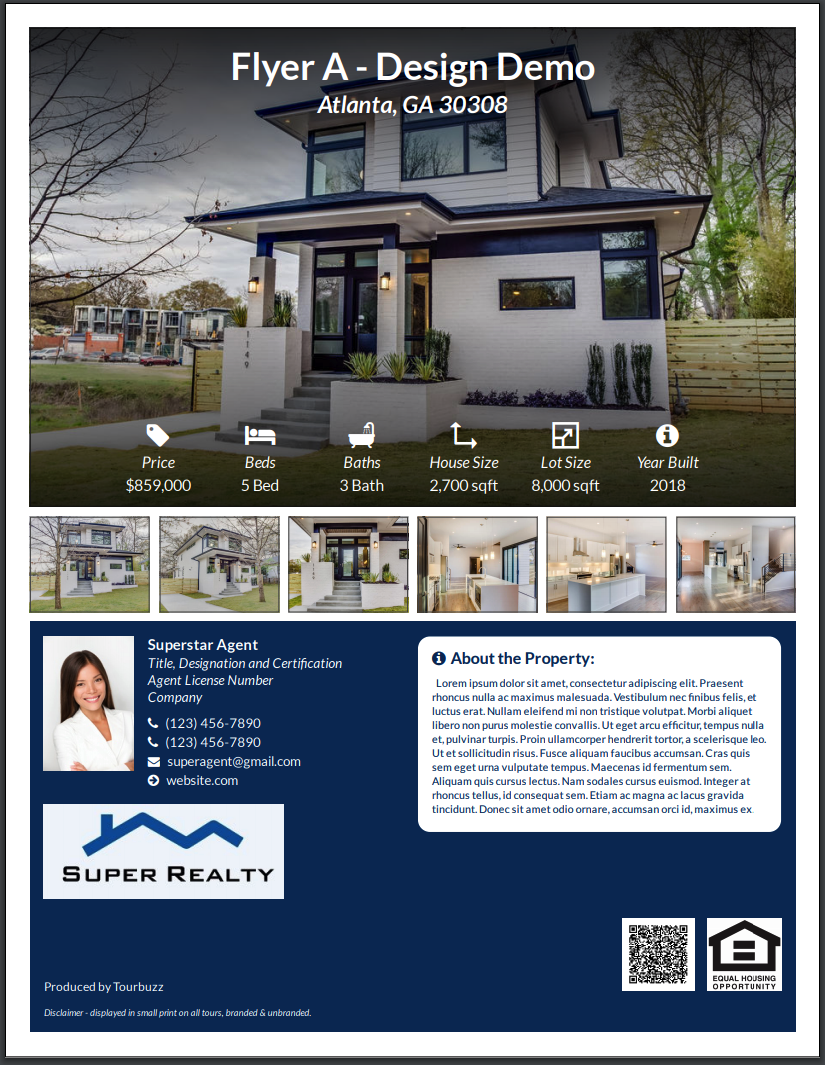
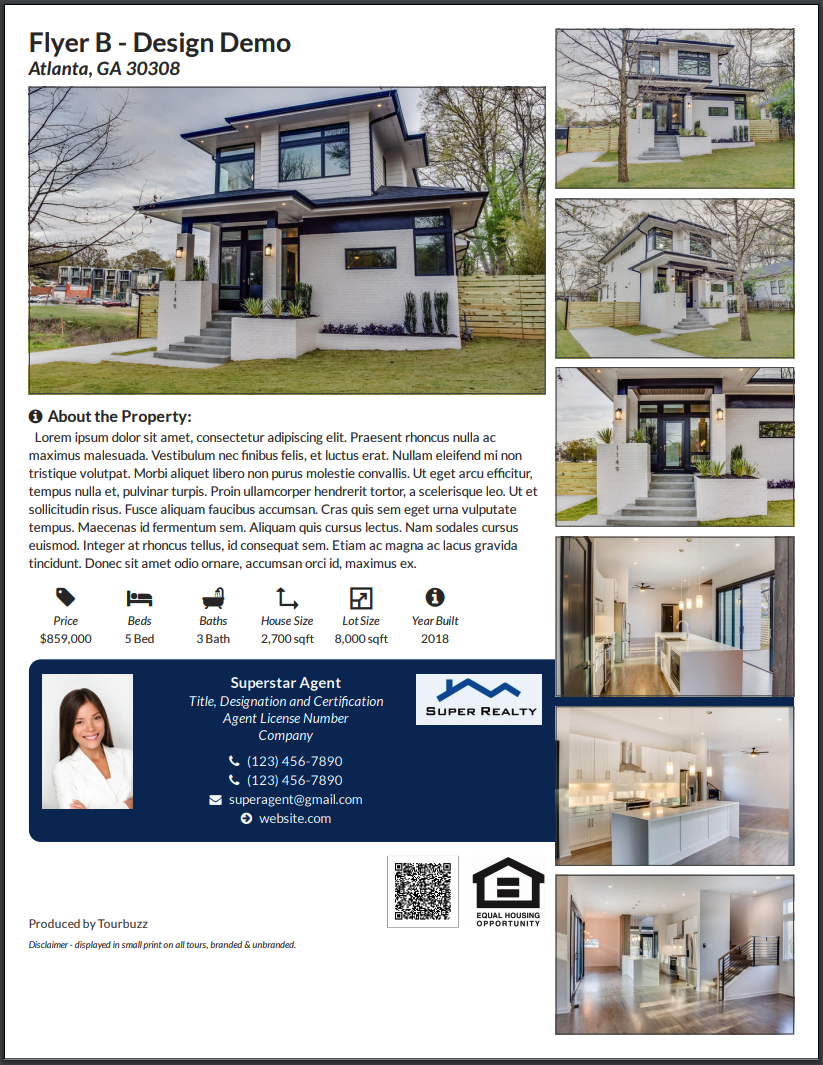
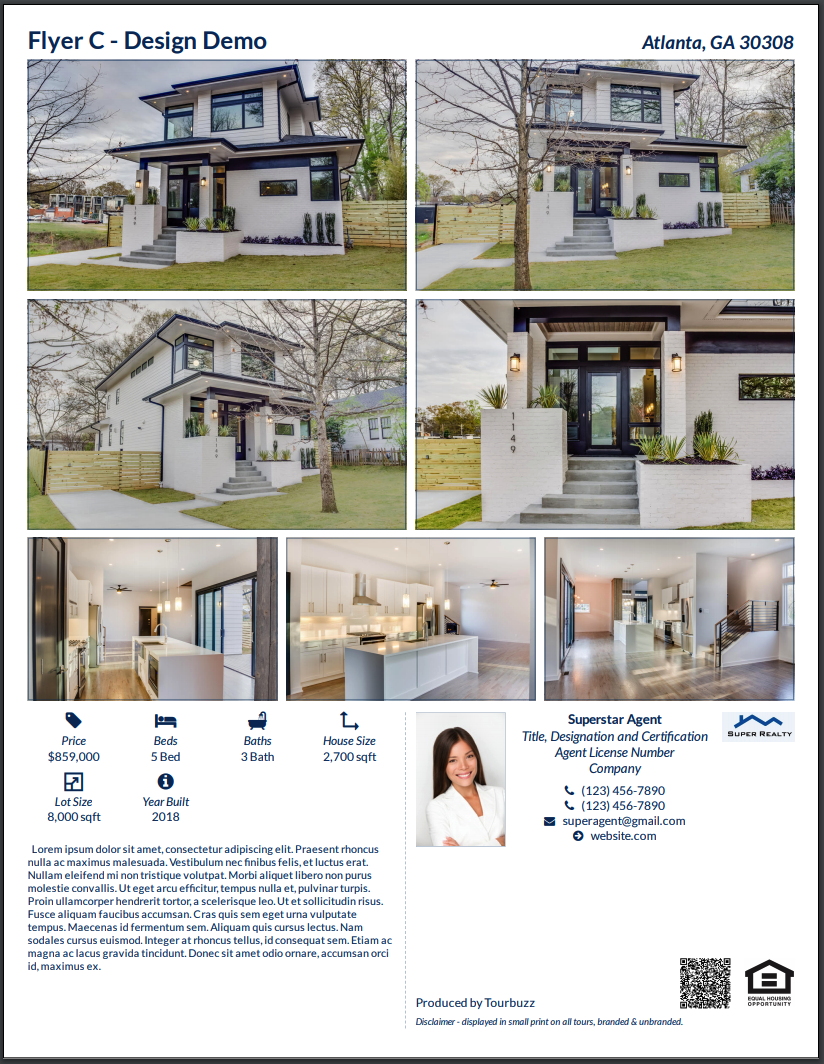
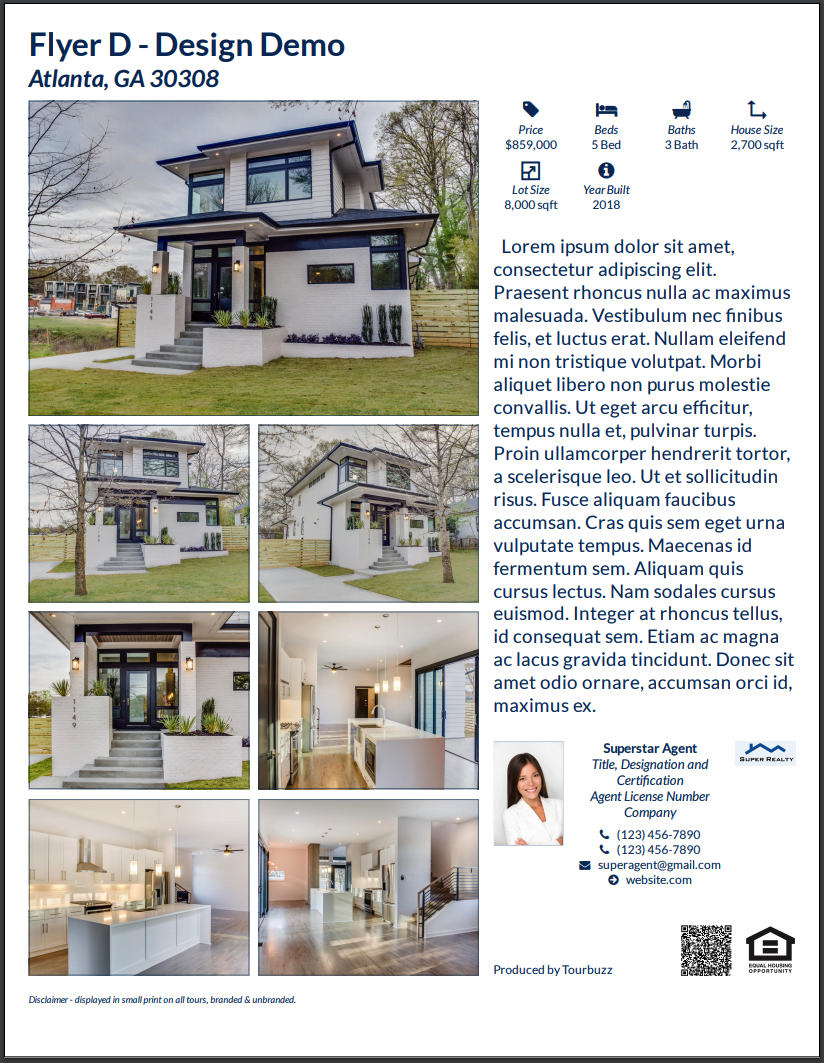
We understand the importance of choices and customization options, especially when it comes to providing marketing materials to your clients. In hearing and seeing what folks want, we provide a way to choose between multiple templates, as well as the ability to control the colors that appear on the Flyers!
| Flyer Template A
|
Flyer Template B
|
| Flyer Template C
|
Flyer Template D
|
In this article
To make edits to the flyer, click Flyer Edit on the left menu. This page will reflect, by default, the first 7 images from your tour are used on the flyer as well as the Description Text from the tour (if provided). The images that are used will have a checkmark and will be greyed out.
To change the selected images, all you have to do is drag-and-drop an image from the image bucket on the right directly onto the Flyer. You can drag-and-drop the images to change the order they appear in as well.
If you have entered in a description for the tour within the Info tab, we will automatically pull that text and use it on the flyer as well. However, if you would like something other than what has been provided in the Description box located below the fly.
*Please keep in mind, the more text you have, the smaller the font will be. In other words, the only way to enlarge the font is by having less text on the flyer.
Once you have made your changes, click the Save Tour button.
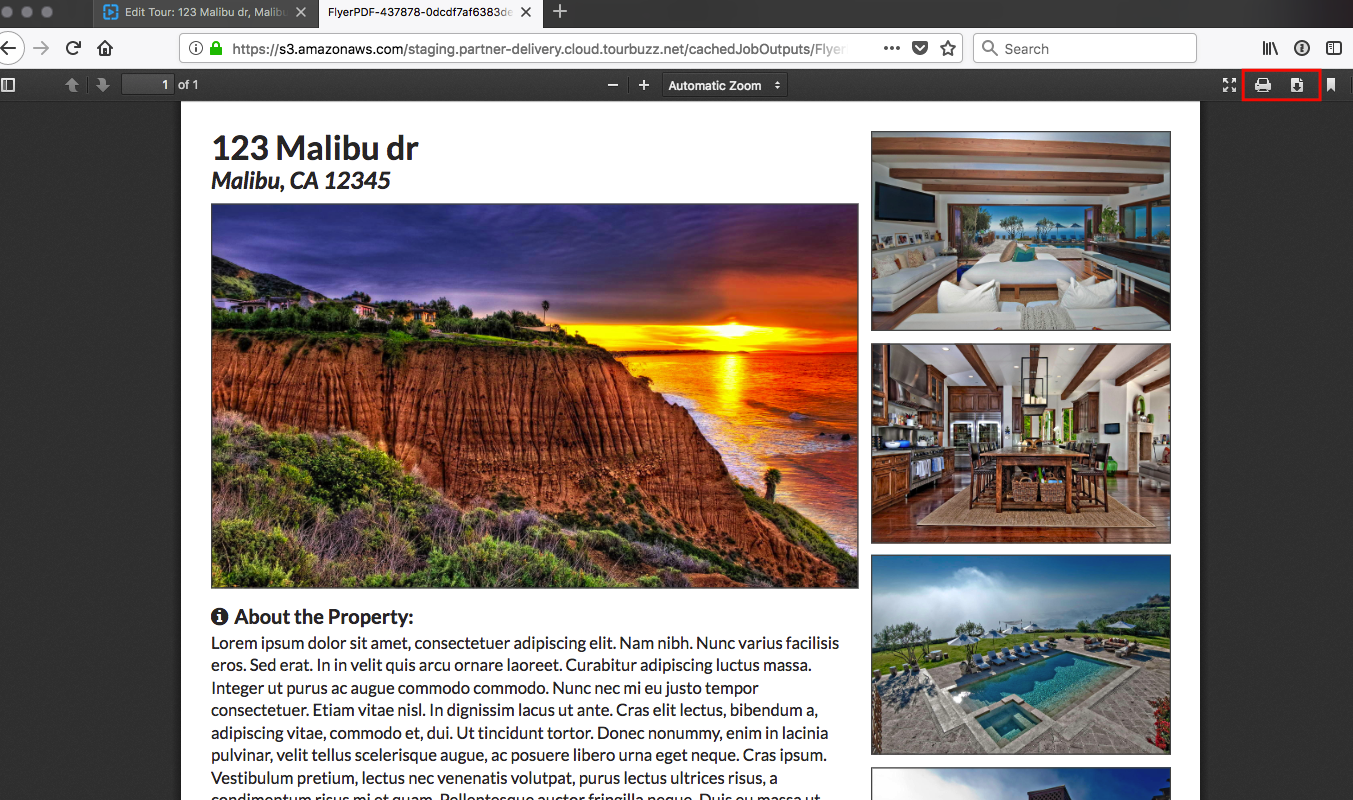
When you’ve selected an option to view the flyer, this is what will appear:
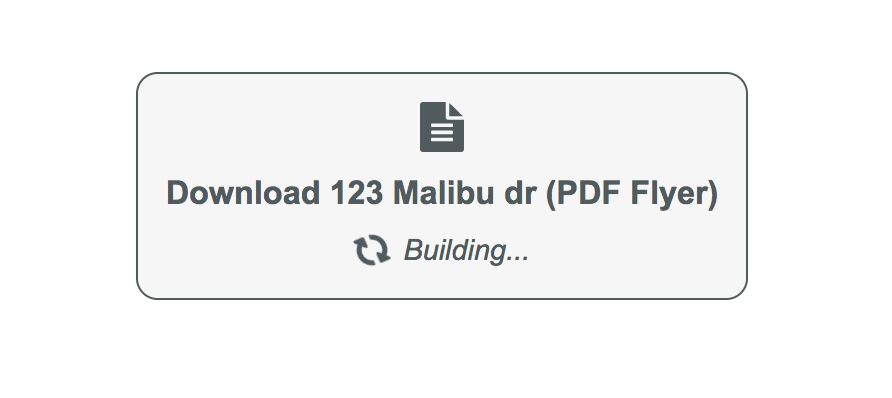
**Please keep in mind, the very first time the flyer is built for any user, it can take around 10 seconds to successfully build. Once it’s built, you can preview as many times as necessary and it will build within seconds.
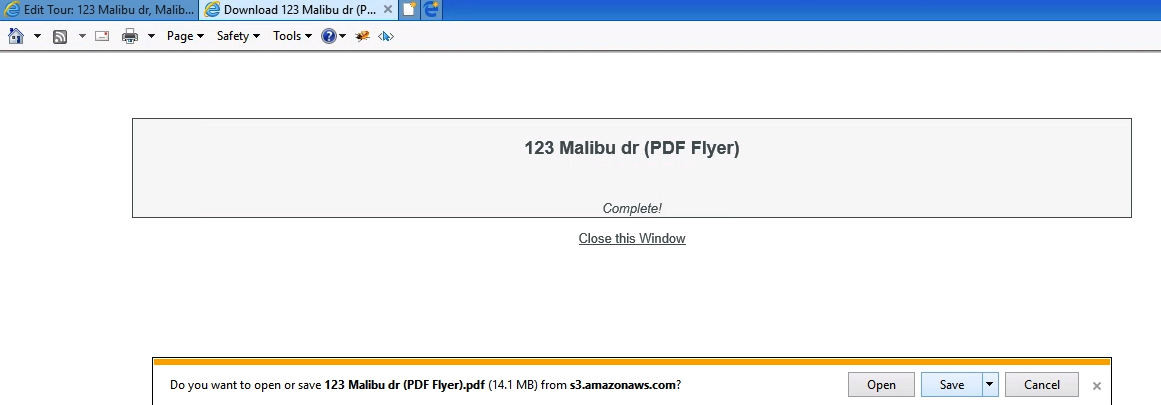
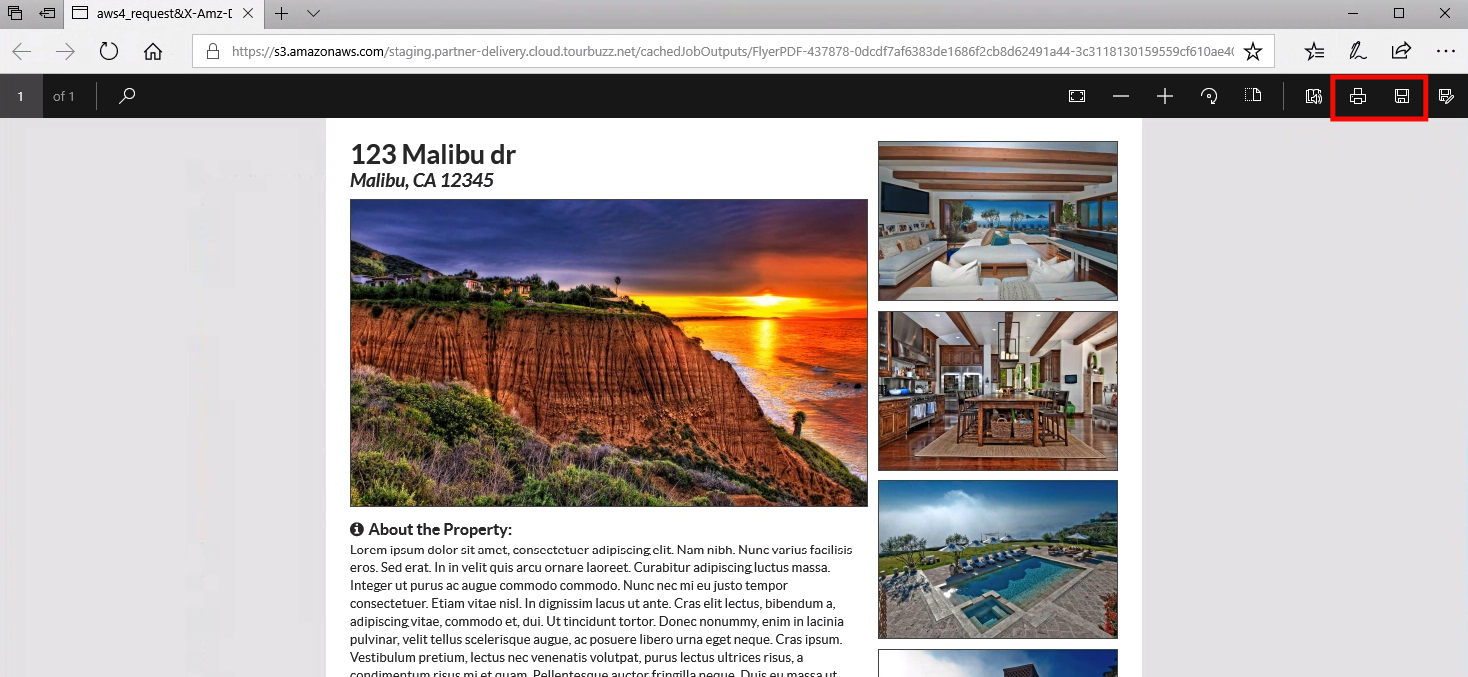
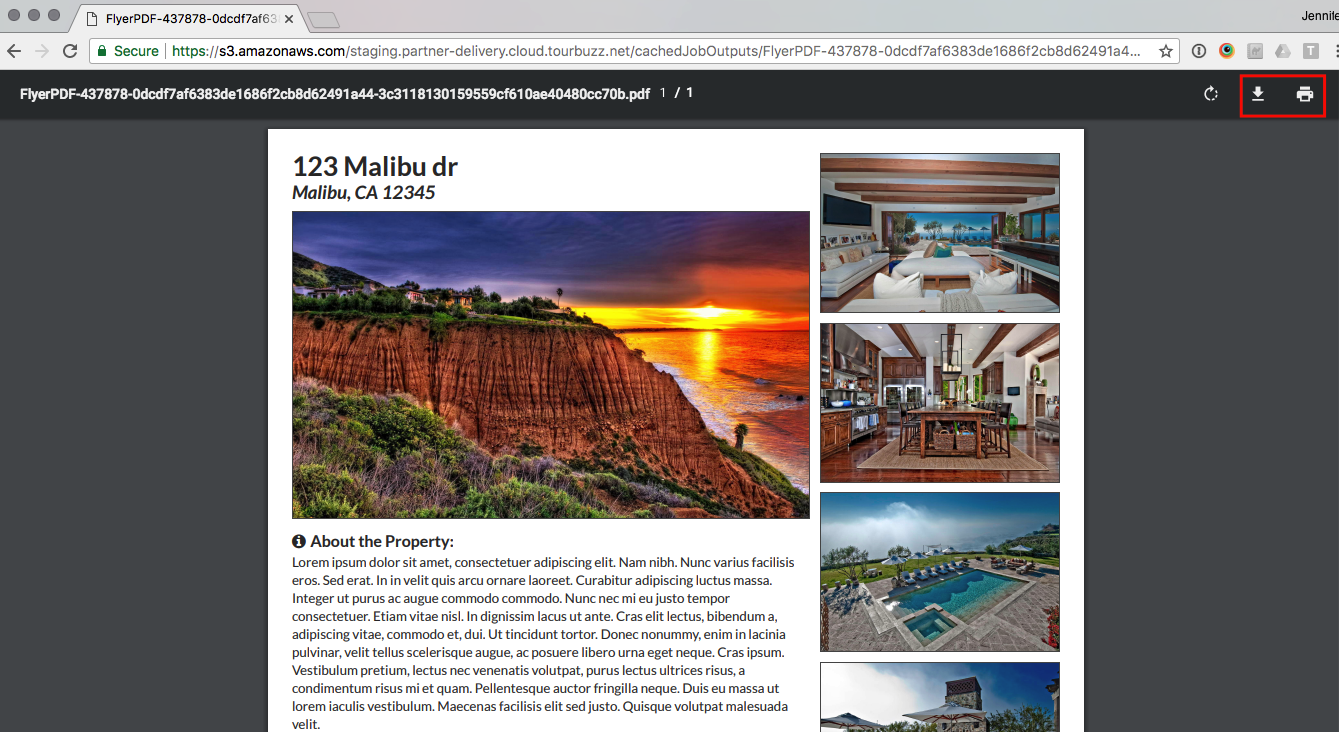
Once built, the .PDF will automatically open up in the browser. From there, the viewers will have the option to download or print the flyer. Here is what those options look like in different browsers.
Chrome
Firefox
Internet Explorer/Edge
